Choose Your Design and Start Cutting the Material for The Quilt Top

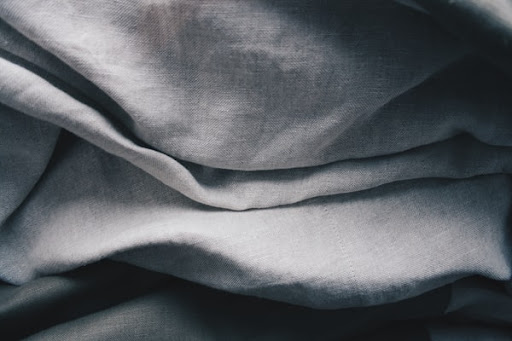
The first step in making a quilt is to select the materials that will be used. This can be a fun process, as it allows you to choose materials that reflect your personal style. When selecting your materials, consider the colors, patterns, and textures that you want to use.
Once you have selected the fabrics, the next step is to piece them together. This can be done in a variety of ways, depending on the quilt pattern you are using. One popular method is to use a piecing ruler to cut the material into strips, then sew the strips together.
Applique Patterns are a fun and easy way to add some extra flair to your project. There are a variety of different types of appliques, but the most common is the pieced applique pattern. In this type of applique pattern, you cut out shapes from different materials and then sew them together to create a design. You can then attach the applique design to your quilt top using either fusible web or by hand-sewing it in place.
Choose your quilt bottom material.
When choosing the material for the bottom of your quilt, there are a few things to consider. The most important factor is how well the material will match the top fabric. If you’re using a solid color for the top, it’s best to use a solid color for the bottom as well. If you’re using a print for the top, choose a material that has a similar look and feel so that your quilt looks like it was made from one piece of material.
Another thing to consider when selecting the bottom fabric is whether or not it will show through the quilt top. Some materials are thicker than others and will show less through than others. If you’re using a light-colored top material, you’ll want to use a light-colored bottom material so that you don’t see any dark colors peeking through.
Finally, think about how you want your quilt to look when it’s finished. If you want the back of your quilt to be just as pretty as the front, choose a coordinating print or solid color for the bottom material. If you don’t mind having a plain back, virtually any type of fabric you have on hand will work just fine.
Add batting to your quilt top.
The next step is to add the batting. First, you’ll need to measure the quilt top and cut the batting to the same size. Then, place the batting on top of the inverted quilt top, smoothing it out as you go. Use straight pins to secure it in place.
Next, use a quilt needle and thread to sew around the edge of the quilt, making sure to catch the batting in the stitches. Make sure to use a knot at the beginning and end of each row of stitching.
When you’re finished attaching your quilt top to the batting, there will likely be excess batting and fabric around the edges. Use scissors to trim away this excess so that your quilt is neat and tidy.
Sew all three layers together to finish your quilt.
After the fabric and batting are pieced together, it is ready to be quilted. Quilting is the process of stitching all of the layers together, including the backing material. There are a variety of quilting techniques that can be used, such as straight lines, curves, and feathered edges.
This step is just what it sounds like – sewing the layers of your quilt together. You’ll probably want to use a straight stitch and a quarter-inch seam allowance. If you’re new to quilting, it might be helpful to practice on some scraps first. Just sew two pieces of fabric together, using a quarter-inch seam allowance, and then press the seam open. This will help you get comfortable with how much material you need to leave around the edge of each piece so that your seams are even when you sew them together.
How your quilt turns out is dependent on the fabrics you choose and the time you put into the project. Taking time to plan ahead will make the process easier and ensure that your quilt turns out the way you want it to.


