How To Remove Micro-ring Hair Extensions At Home?
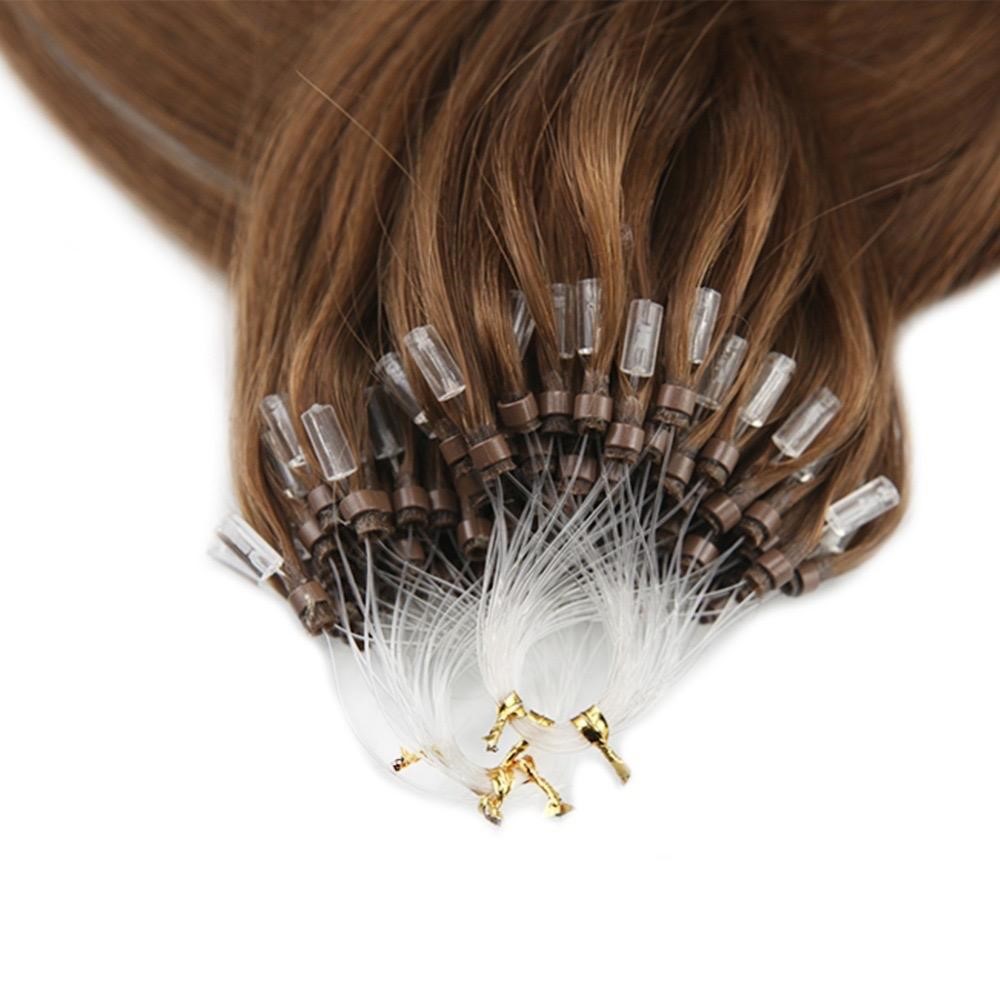
Have you ever wanted to wear long hair like celebrities? Well, I have been a fan of Sofia Vergara from the American TV show Modern family. Apart from her terrific acting and husky-unique accent, women look up to her as a long hair model-she is a gorgeous woman who always wears waist-skimming hair. All women don’t have perfect natural hair to create unique hairstyle they want, so they use hair accessories. They use hair extensions to add volume and length immediately.
Choosing hair extensions is not easy, with various types available online. Women widely use clip-in, tape-in, sew-in, and micro-ring hair extensions. Among these, clip-in hair extensions are women’s favorite because it is easy to install and remove them. For beginners, hair extension experts recommend clip-in hair extensions. However, if you are well aware of hair extensions and the tricks to use them, then micro-ring hair extensions are excellent to achieve long and full. micro-ring hair extensions are a modern-innovative creation by the hair industry. They blend with your natural hair seamlessly with perfection. Once you wear it, you don’t have to worry about slipping and sliding, as it is hundred percent secure.
You will have to visit a salon and make regular appointments with the professional stylist to install and remove micro-ring extensions if you are a beginner. However, time doesn’t permit us to visit a salon every time. Sometimes, we may have to do things on our own-like installing and removing hair extensions. Removing micro-ring hair extensions may be more complicated than clip-ins and tape-ins, but you can master the steps if you learn them today. You can remove it at home with the help of your friend.
micro-rings are not a simple hairstyle for girls as their installation and removal are not as easy as other extensions. Well, don’t be intimidated! I am here to guide you. These four quick steps will help you remove extensions without any damage while saving time and money.
Step 1: Section your hair
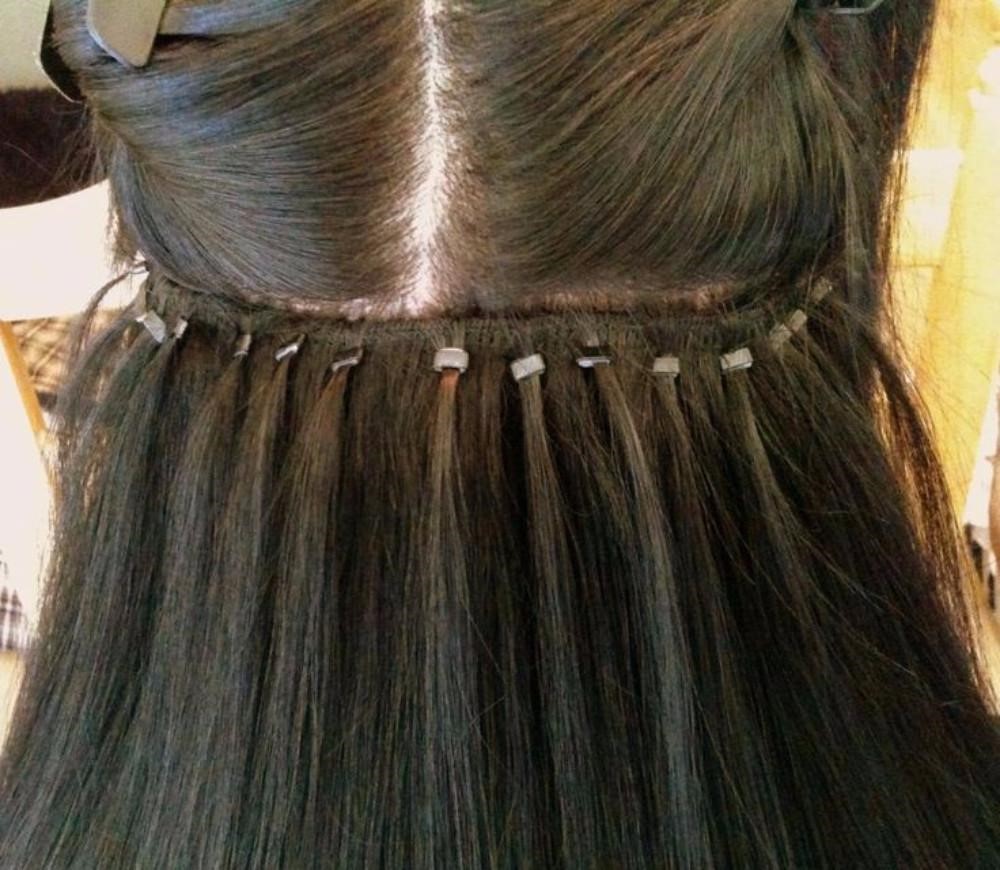
Section your hair to remove micro-ring hair extensions
micro-ring extensions are installed on the back of your head in rows. You can use as many as you want right below the crown. Install more rings in rows if you have thin hair, but you will have more work while removing it! However, it doesn’t take much time-you will only have to spend a few extra seconds.
Sectioning your hair is the initial step to remove micro-ring extensions safely- it gives you space to focus on uninstalling micro-rings—part your hair from the area where micro-rings are installed. Gather your hair and secure it on the top with an elastic band. Make sure that all micro-rings are visible and exposed.
Sep 2: Ring-by-ring, row-by-row
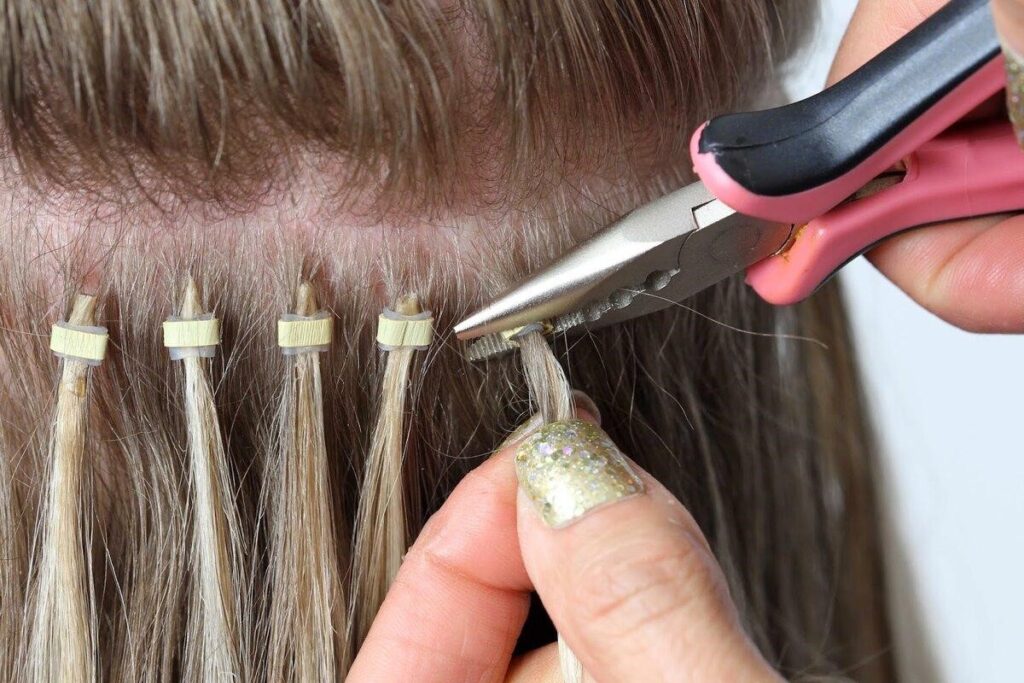
One at a time
You should never remove hair extensions haphazardly (for any hair extension). Always start with one clip, tape, or a micro-ring. For removing micro-ring extensions, start with one micro-ring and work on another one. This trick gives you enough time to work on a ring without damaging the extension and your natural hair.
Micro-rings are installed from top to bottom, but the removal process is just the opposite. Start removing the extension from the bottom row (from the nape of the neck) and work up towards the top, ring-by-ring, and row-by-row.
Step 3: Remove the rings
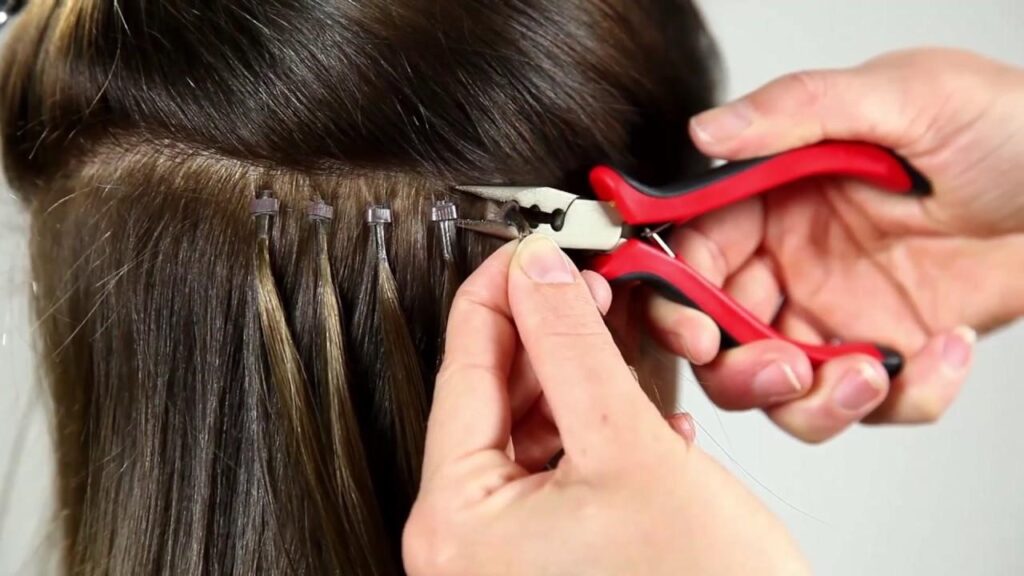
Remove the rings
Begin the removal process with extension pliers. Hold it in the right hand tightly and apply pressure on the flattened micro-rings.
Start to apply light pressure; if the rings do not loosen, use a little more force. The rings will widen gradually. Once you do that, the hair will come out quickly, and the rings will slip out effortlessly.
If your extensions have been installed for a long duration, you might apply more pressure to take out the micro-rings.
Step 4: Brush your extensions
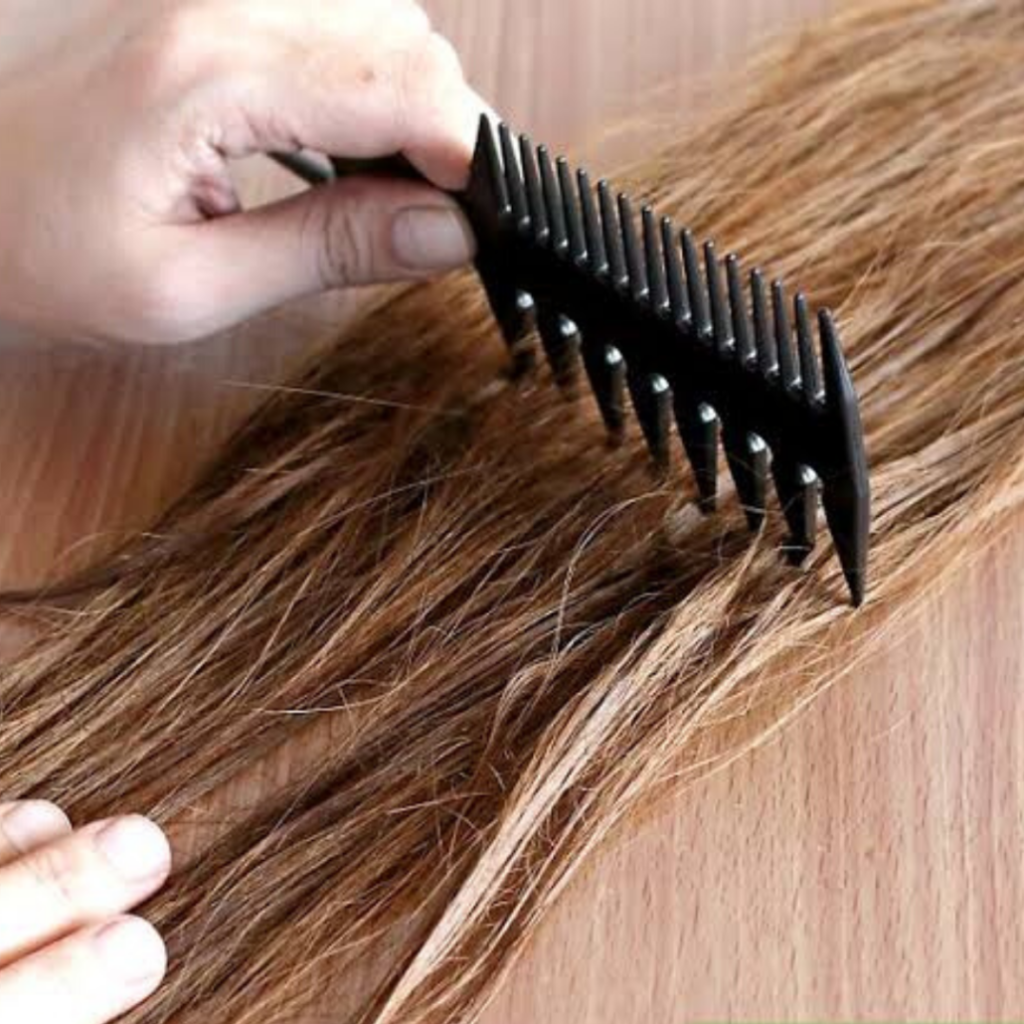
Remove tangles
You may come across a cluster of natural hair and hair extensions at the area where you placed micro-rings. Please don’t panic! It is normal to have clumps of hair for micro-ring users. Use a brush to separate the strands gently. Be cautious while brushing! Never give your extensions a firm abrupt stroke because it will damage them, instead, give it four to five gentle strokes.
Step 5: Wash your extensions
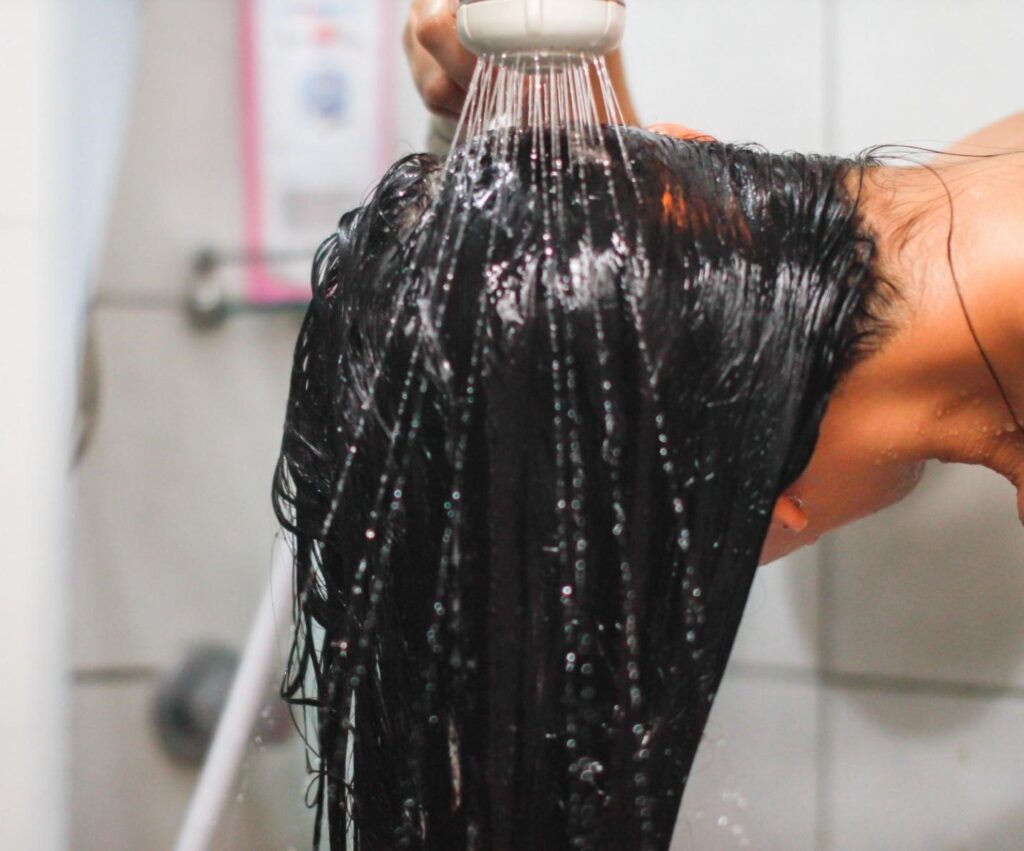
Wash your hair extensions with cold water
- Since micro-rings don’t use glue, you can use any shampoo to wash them.
- Apply the shampoo on your palms and rub it on your extension from roots to tips. Soak every strand with the shampoo well.
- Rinse your hair with cold water. Always wash your micro-ring extension with clean water.
Step 6: Condition your hair extensions
- Unlike other hair extensions, micro-rings are compatible with conditioners. Use any conditioner to moisturize your hair extension.
- Wet your micro-ring extensions with a conditioner.
- Leave it for ten to fifteen minutes.
- Rinse your extensions with clean water.
Step 7: Dry your hair extensions
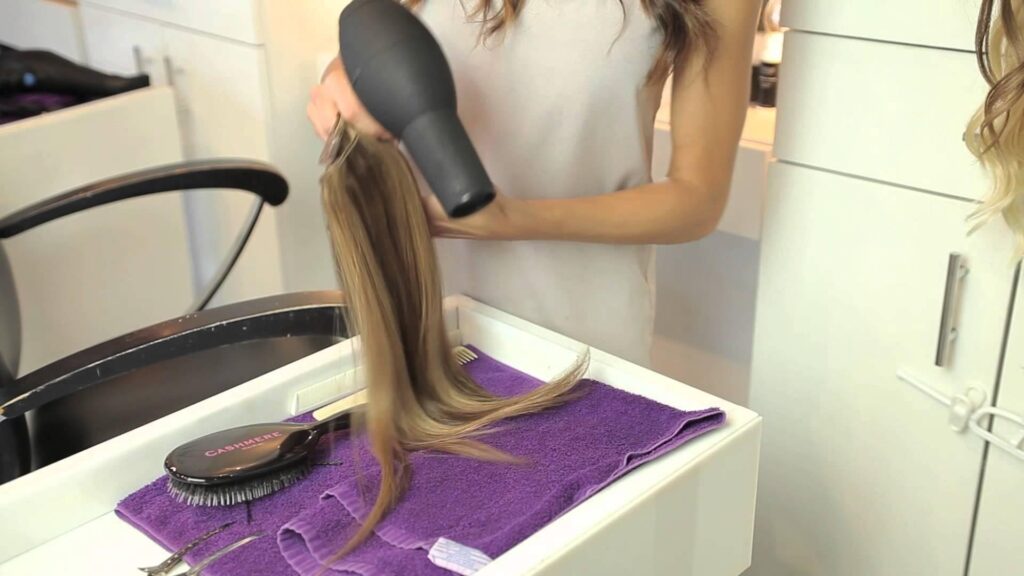
Dry your hair extensions and store them in a safe place
- Use a microfiber towel to remove the water from your extensions and apply a leave-in conditioner.
- Comb your extension while it is wet to eliminate tangles.
- Let the extension air dry naturally, but it is better to dry the roots with a blow dryer because sources are prone to tangling when your hair is wet.
Conclusion:
Experts don’t recommend people to uninstall hair extensions at home. They say the extensions should be removed by a professional to protect both the extension and natural hair. However, situations don’t let us do things as we have planned. Sometimes we don’t have enough money and time to visit a salon to remove the extension. In some cases, we cannot reach out to professionals, so you will have to do it at home. Ask your friend or family members to help you with these seven simple steps to remove micro-ring extensions at home.


